Getting started
The address to login to your site is https://attitudeiseverything.org.uk/wp-admin and this will change when the site goes live to https://www.attitudeiseverything.org.uk/wp-admin where you will need to login again using the same credentials.
More on WordPress and training video
Before you start, please refer to our tips for Writing for the web about how to create accessible content, you can also find this information in the accessible content guide
Basics and introduction
- If you are viewing the site from the front end (and are logged in) you will see ‘Edit page’ in the black bar at the top
- If you are already in the back end select Pages from the main left hand side menu
- Click a page to edit it – a page with a dash before the title means it is a sub page of the one above.
- Gutenberg is the editor from WordPress and uses blocks (like printing blocks) to build the content on the page.
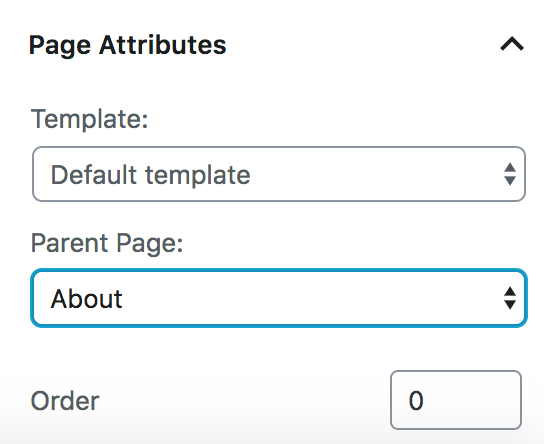
- To make the page you are editing a sub-page (known as a child page) of another page (known as a landing page or a parent page) select the page from the ‘parent page’ drop down menu in the Page Attributes box on the right under the Page tab. For example the following image shows a page that is a sub page of About:

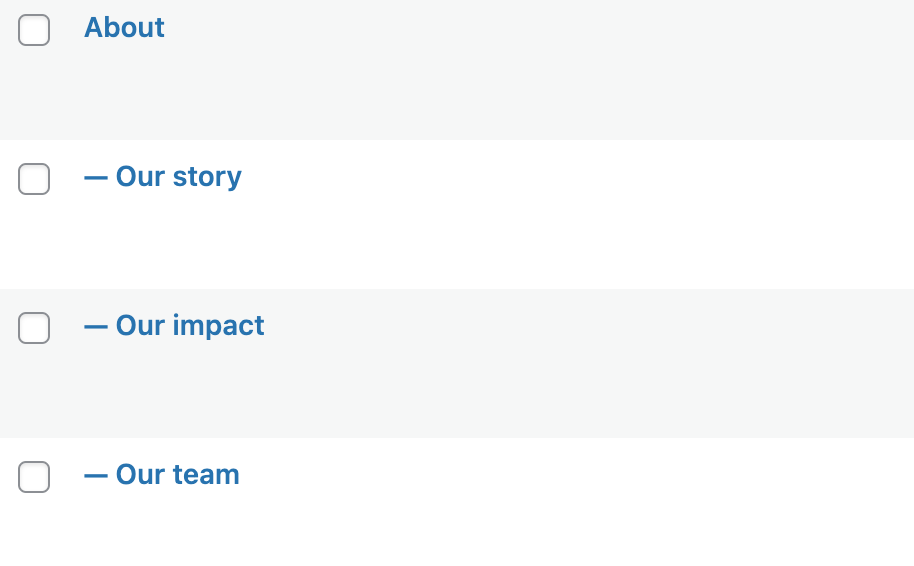
- On the listing page the subpages are represented by dashed lines

Parent/landing pages
- A parent/landing page is any page which has further pages within that section
- Each landing page is made up of promo links to the pages within that section.
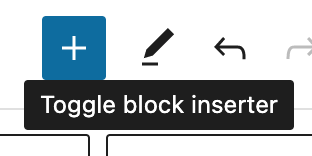
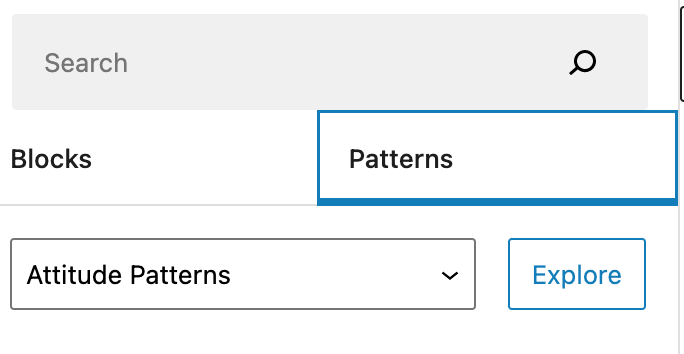
- To add in one of these links click the blue plus sign at the top left of the screen

- Choose the Patterns tab – if it is not already selected also make sure Attitude patterns is selected from the drop down menu

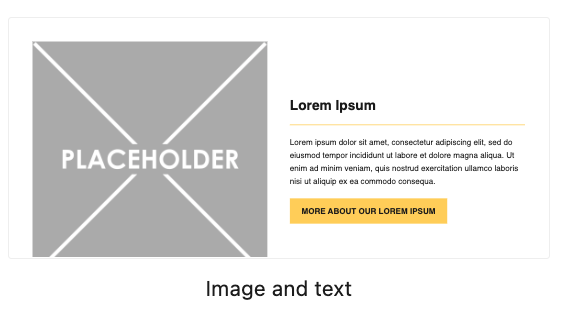
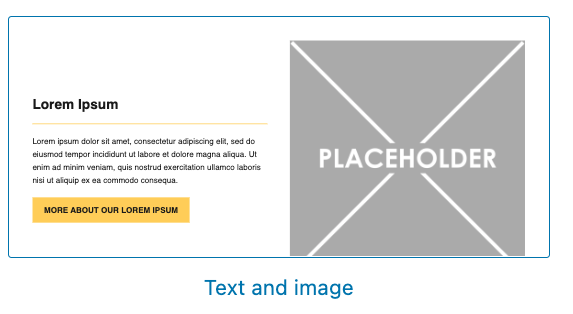
- To add in a promo choose either Image and text or Text and image
- Replace the content in the blocks
– click the picture and click “Replace” – see the Images section of this guide.
– Replace the link in the button – see the Links section of this guide
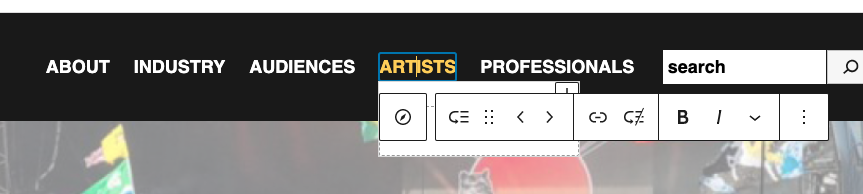
– Type over the text in the heading and paragraph - To swap the image and text blocks left to right, first select the promo, then click the icon with 3 lines towards the top left of the screen:
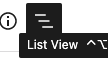
- A panel will appear from the left
- Select the Columns section that the promo is in (this will be highlighted in blue) and click the arrow to expand it:

- Once expanded, select a Column:
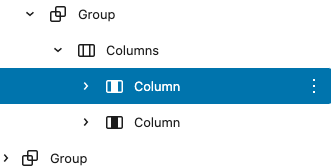
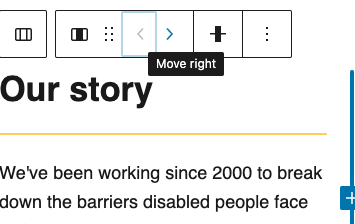
- You will know that you have selected the correct one as you will now see left and right arrows appear on the promo block:


Standard pages
- Any standard content page should ideally always have some descriptive text at the top explaining what the page/section is about – this can be the same text that has appeared on the promo block that links to it from it’s landing page, or you might need to add more text on the page itself/
- If you are adding a new page then you will need to click the blue plus button and the patterns tab (as described under parent/landing pages and select the Page Description pattern:
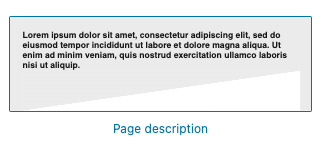

- Edit the text directly
- You don’t have to fill in the heading – you can just delete the Lorem Ipsum
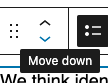
- You may find that the blocks appear in the wrong order to what you intended when you add them to a page. You can move them up and down by clicking the arrows to the left when you have selected the block
- The rest of your page can be made using any combination of the below:
Headings
It is really important to use headings correctly on your website. This is so people using a screenreader can quickly scan a page and find the content they need and so search engines will index your site more thoroughly – headings are picked up as more important than standard paragraph text.
This means that you need to apply a heading style and not just make the text bold; This is very common mistake if you are copying and pasting from a document.
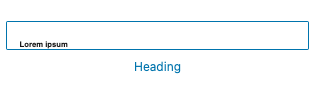
- Go to Patterns and choose Heading

- or Heading with text to break up your page

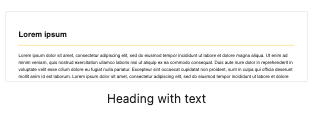
- Using these patterns will ensure the correct heading levels are used
- You can add images to the page and combine them with these blocks
Images
- See our advice on images
- Where your images are not square use the 16:9 aspect ratio and aim for 1,600 pixels x 900 pixels
- The ‘featured image’ on your site is used for any post on your site that is then fed through elsewhere – see News section in this guide.
- If you want to insert an image within a page choose the Text and image pattern or the image and text pattern

- Click the placeholder image to replace it, remember to add the Alt text

Links and buttons
Please see our advice on adding links
Testimonials / quotes
- Select Patterns and choose the Quote pattern or the Quote with image pattern, directly edit the text


Social media and video
- See our advice on social media and video
- An example of an Instagram embed is on this news post
FAQs
- You can create a question and answer layout (like this one) by adding a Block on the page – click the plus sign – either at the top left and select the Blocks tab
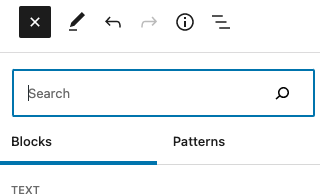

- or anywhere on a page and choose Accordion item
- This layout is generally reserved for instructional information
People pages
- Anywhere that has a list of people (currently all under Team) uses the People Pattern – select Patterns and add the People list
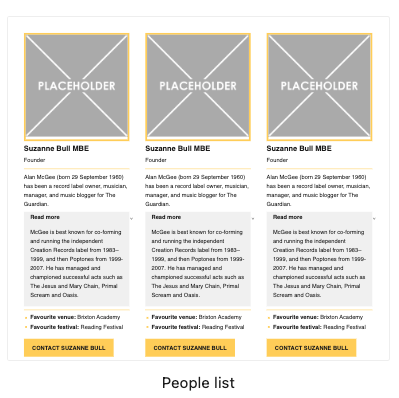

- This will insert a row of 3, you can delete if you only need 1 or 2
- I you have a long bio use the Read more panel, if not you can just delete it
Resources
- Refer to our guide on making sure your PDFs are accessible
- If you want to upload a PDF as a resource choose the Downloads patterns, you can choose if you have an image/thumbnail or if you don’t

– Delete accordingly if you don’t have 4 - Click on the link to replace the file with the one you need
- You can choose from the media library or your computer
News section
- Your News page and some content such as Professional Voices use this
Creating the pages - All content should be uploaded to Posts

- Add in the content as you would a normal page but this time remember to include a Featured image (see more under images)
- Here you will also find categories relating to your Industry section. See all the categories here.
- When uploading content relating to Industry, make sure the correct categories are selected.
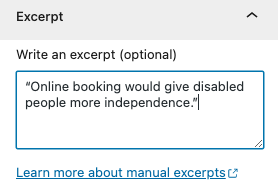
- Add in Excerpt text if you want to edit the text pulled through to the Post feed pattern below
Feeding through the pages to the right section - You can feed through a category (or a combination of categories) of posts to any page on your site
- To do this select Patterns and choose the Post feed pattern

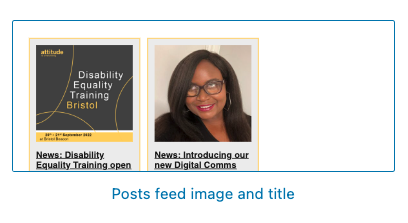
- If you do not want to pull through the excerpt text at this level, choose the Post feed image and title pattern

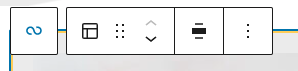
- Once inserted onto the page, click on the Loop icon on the top left of the block

- This will reveal a panel on the right hand side of the page, scrolling down slightly you will see Filters where there is a categories field.
- Here you choose which categories you wish to feed through. So for example on the News page only posts with the category of news are shown.
- If you wanted to feed through all your campaigns (i.e. posts you have added and ticked with Campaigns) you would add the category of Campaign – start typing the name of the category and it will appear for you to click.

Menus
- You can edit your Header and Footer menus by clicking the Edit site button from the front end when you are logged in
- Select the drop down where it says Homepage at the top and you can select Header or Footer

- You can then directly edit the menus by clicking into them